
How to Lash Hooded Eyes: A Complete Guide for Lash Technicians
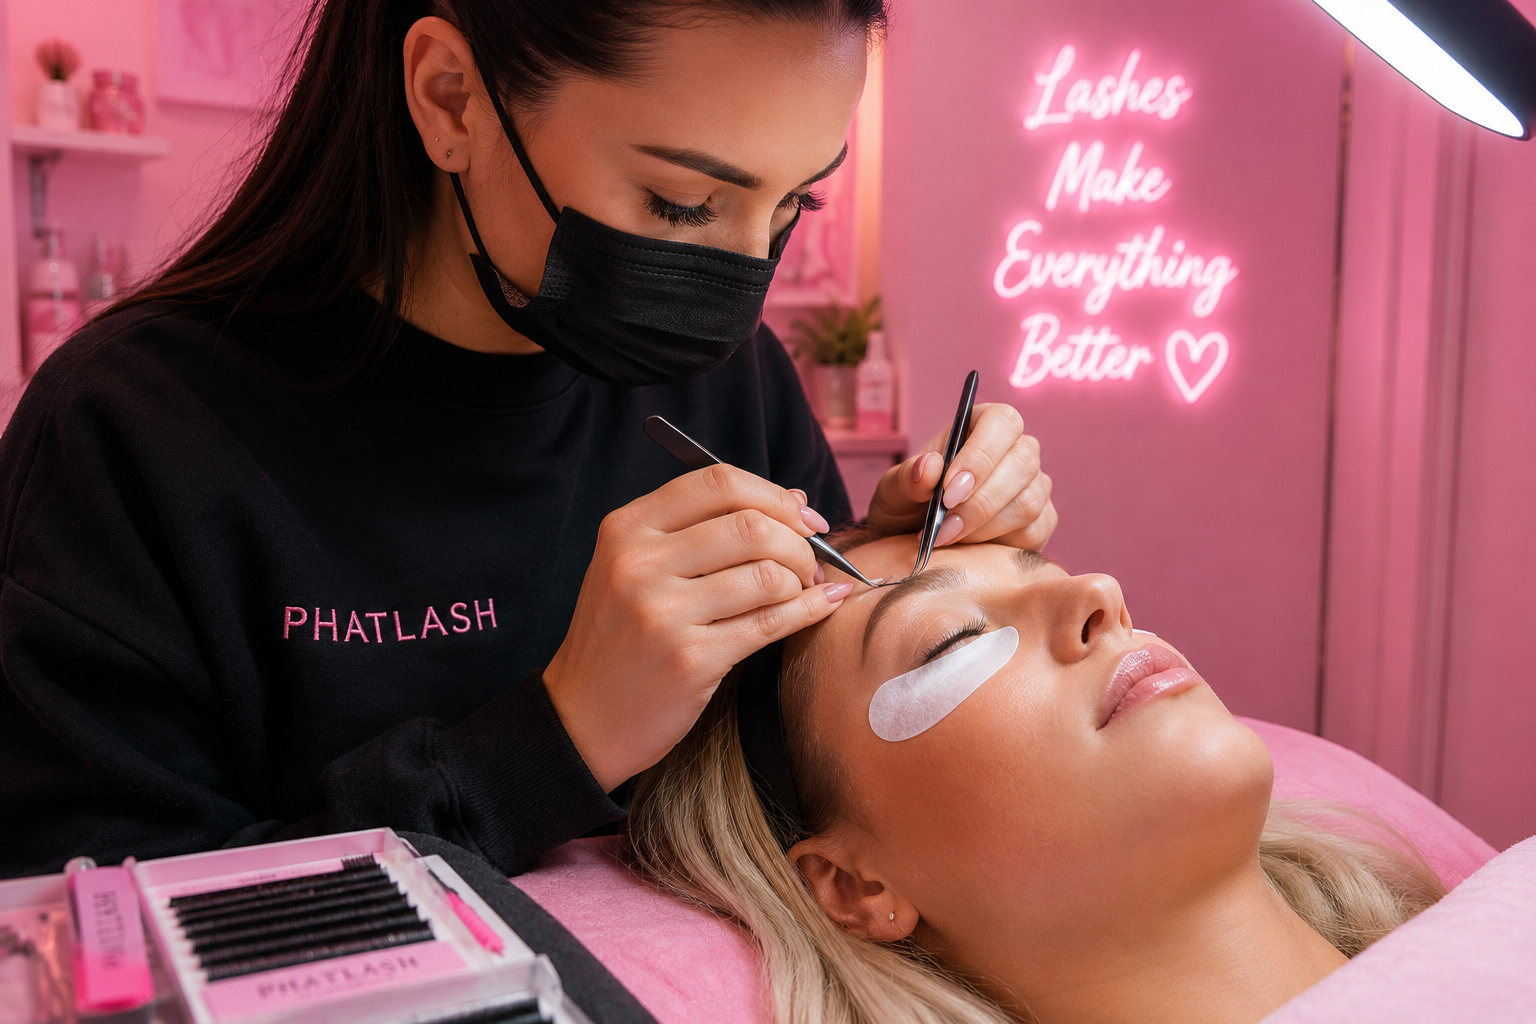
Lashing hooded eyes can be challenging, but with the right lash mapping, styling and extension placement, you can create a beautiful set that complements the client's natural eye shape.
Hooded eyes have a fold of skin that partially covers the eyelid or lash line. This can make certain lash styles appear hidden when the client's eyes are open, meaning a lash map that works beautifully on another eye shape may not have the same effect on hooded eyes.
In this guide, we'll explain how to lash hooded eyes, which lash styles can work well, what to consider when creating a lash map and common mistakes to avoid.
What Are Hooded Eyes?
Hooded eyes have an additional fold of skin that sits over the eyelid and can partially cover the crease or lash line.
When the eyes are closed, the eye shape may not look particularly different from other eye shapes. However, once the client opens their eyes, the hooded area can cover part of the extensions.
This is why eye shape analysis is so important when choosing a lash map.
The aim isn't simply to apply the longest lashes possible. Instead, you want to create a style that works with the client's natural features and remains visible when their eyes are open.
Can You Lash Hooded Eyes?
Absolutely. Hooded eyes can be beautifully enhanced with eyelash extensions.
The key is understanding how the natural eyelid affects the finished result.
Before starting the treatment, assess:
-
The client's natural eye shape
-
The position and direction of their natural lashes
-
How much of the eyelid is hooded
-
The client's natural lash length and strength
-
The desired final look
-
Which areas of the lash line are naturally more visible
Remember that every client is different. Two clients may both have hooded eyes but require completely different lash maps.
How to Lash Hooded Eyes
1. Analyse the Eye Shape First
Before choosing your lash extensions, ask your client to look straight ahead and assess their eyes in a natural, relaxed position.
Look at where the eyelid sits in relation to the lash line and identify which areas are naturally more visible.
This will help you determine where length can be added without the extensions disappearing underneath the eyelid.
Eye shape analysis should always come before choosing a lash map.
2. Consider Where the Longest Lashes Should Sit
With hooded eyes, placing the longest lengths directly where the eyelid folds over the lash line can sometimes cause the extensions to become hidden.
Instead, consider placing your maximum lengths where they will be most visible when the client's eyes are open.
A wispy or textured lash map can work particularly well because it allows you to create dimension without relying on one large section of maximum length.
3. Choose Your Curl Carefully
Curl choice can make a significant difference when lashing hooded eyes.
A stronger curl may help the extensions appear more lifted and visible, but you should always consider the client's natural lashes and the distance between their lash line and eyelid.
The ideal curl depends on the individual client rather than simply their eye shape.
Always check that the extension is sitting correctly and isn't making uncomfortable contact with the eyelid.
4. Consider a Wispy Lash Map
Wispy lash extensions can be a great option for hooded eyes.
Instead of creating one uniform length, a wispy set combines different lengths to create texture and movement.
This can help prevent the lashes from looking too heavy underneath the hooded area.
A textured lash map can also create the illusion of more open, lifted-looking eyes without needing extremely long extensions.
5. Don't Automatically Create a Dramatic Cat Eye
A traditional cat-eye map gradually increases in length towards the outer corner.
However, this isn't necessarily the best option for every client with hooded eyes.
Longer extensions at the outer corner can sometimes emphasise downward direction or become hidden beneath the outer eyelid.
Instead, consider adapting the lash map to the client's individual eye shape.
A squirrel or doll-style lash map may be more suitable for some hooded eyes because the longest lengths are positioned further towards the centre of the eye.
The correct choice should always be based on the client's individual features.
Lash Mapping for Hooded Eyes
There isn't one universal lash map for hooded eyes, but a starting point could look something like:
8mm → 9mm → 10mm → 11mm → 10mm → 9mm
This type of mapping places the longest lengths towards the centre of the eye rather than extending the longest lengths all the way into the outer corner.
However, this is only an example. Your final lash map should be adjusted according to the client's natural lashes, eye shape, desired result and the products you're using.
What Lash Curl Is Best for Hooded Eyes?
There isn't one curl that is automatically best for every hooded eye.
Depending on the client's natural lashes and eye structure, a curl with more lift may help create greater visibility.
However, choosing a curl simply because it is "stronger" isn't always the correct approach.
The extension should complement the natural lash and sit comfortably without pressing against the eyelid.
When choosing your curl, consider:
-
Natural lash direction
-
Natural lash thickness
-
Distance between the lash line and eyelid
-
Desired finish
-
Extension length
-
Extension diameter
Common Mistakes When Lashing Hooded Eyes
Using Too Much Length
Longer doesn't always mean better.
If the extensions are too long, they can become hidden by the eyelid and may also place unnecessary weight on the natural lashes.
Always prioritise the health of the natural lash.
Making the Outer Corner Too Long
A long outer corner isn't suitable for every eye shape.
On some hooded eyes, excessive length at the outer corner can make the eyes appear heavier or more downward-facing.
Ignoring the Client's Natural Lash Direction
Natural lashes can grow in different directions, and this becomes especially important when working around hooded eyelids.
Make sure extensions are applied correctly and follow appropriate isolation and placement techniques.
Choosing a Lash Map Before Assessing the Client
One of the biggest mistakes is using the same lash map on every client.
A lash map should be a starting point, not a rigid rule.
Analyse the client's eyes first and adapt your styling accordingly.
Using Extensions That Are Too Heavy
Lash extensions should be suitable for the client's natural lashes.
Using excessive diameter or length can place unnecessary stress on the natural lash.
A beautiful set should always prioritise natural lash health.
How to Make Hooded Eyes Look More Open
If your client wants their eyes to appear more open, focus on creating lift rather than simply adding length.
Depending on the individual eye shape, this may involve:
-
Placing more length towards the centre of the eye
-
Using an appropriate curl
-
Creating a textured or wispy finish
-
Avoiding excessive outer-corner length
-
Choosing lightweight extensions
-
Adapting the lash map to the client's natural features
The goal is to create a balanced result that works with the client's eyes when they are open.
Final Thoughts
Learning how to lash hooded eyes is all about understanding that one lash map doesn't work for every client.
The most important skills are eye shape analysis, lash mapping, curl selection, correct extension placement and natural lash health.
Rather than trying to hide hooded eyes, use lash extensions to enhance the client's natural features and create a style that complements their individual eye shape.
The more clients you work with, the more confident you'll become at adapting your lash maps and styling techniques to different eye shapes.
Looking to improve your lash skills? Explore Phatlash Courses for online beauty and lash training designed to help you develop your knowledge and confidence.
Comments