
How to Photograph Lash Sets Like a Pro
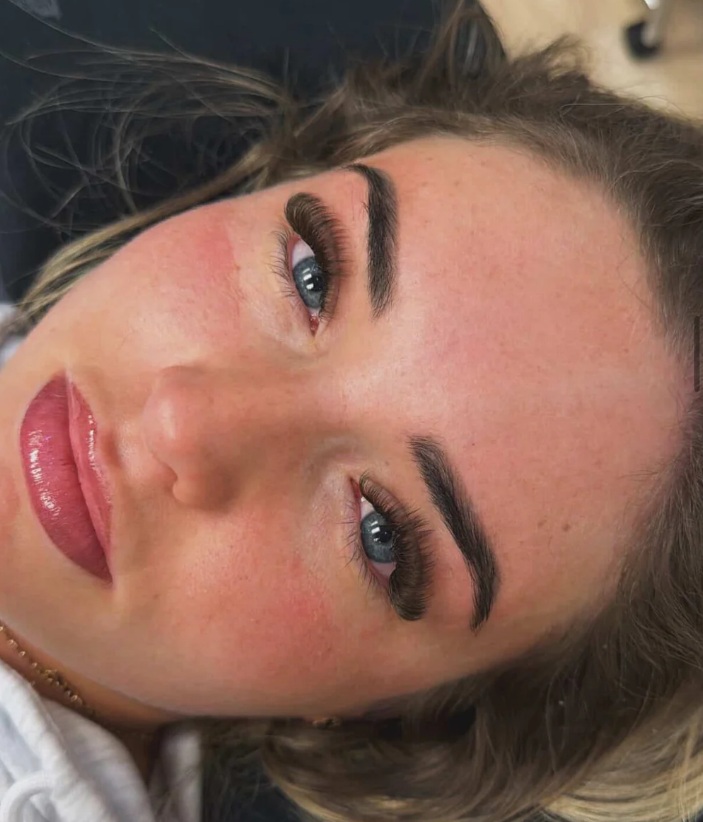
When you've spent hours creating the perfect lash set, the last thing you want is a photo that doesn't do your work justice. High quality lash photos not only showcase your skills but also help attract new clients, build trust, and grow your business on social media.
The good news? You don't need an expensive camera or a professional photography studio. With the right techniques and a few simple tools, you can take stunning lash photos using your smartphone.
Here are our top tips at PHATLASH for capturing beautiful lash set photos every time.
Why Good Lash Photos Matter
Your photos are often the first impression potential clients have of your work. Sharp, well lit images can:
- Build trust with new clients
- Increase bookings
- Improve engagement on Instagram, Facebook and TikTok
- Create a professional portfolio
- Help clients see the quality of your work
Remember, your photos are your biggest marketing tool.
1. Use Natural Lighting Whenever Possible
Lighting is everything.
Natural daylight provides soft, even lighting that shows true colours and every detail of your lash work.
Try to:
- Position your client near a large window.
- Avoid direct sunlight as it creates harsh shadows.
- Photograph during daylight hours for the best results.
If natural light isn't available, use a daylight LED ring light.
2. Clean Your Camera Lens
It sounds simple, but it's one of the most overlooked tips.
A dirty camera lens creates blurry, hazy photos.
Before every appointment, wipe your phone camera with a clean microfibre cloth.
3. Photograph Straight Above the Client
The classic lash photo angle is directly above the client's face.
This allows you to showcase:
- Symmetry
- Mapping
- Density
- Curl
- Overall finish
Keep the phone centred above the face rather than shooting from the side.
4. Ask Your Client to Relax Their Eyes
Clients often squeeze their eyes shut without realising.
Ask them to:
- Relax their forehead
- Close their eyes gently
- Keep their facial muscles relaxed
This creates a much cleaner, more flattering photo.
5. Remove Under Eye Pads
Always photograph the finished set without eye pads or tape if possible.
This gives a polished, professional finish and keeps the focus on the lashes.
6. Use Portrait Mode Carefully
Most modern smartphones have Portrait Mode.
It can work brilliantly, but don't overdo the background blur.
Too much artificial blur can soften the lashes themselves.
Test different settings until the lashes remain sharp.
7. Tap to Focus
Before taking the photo, tap directly on the lashes.
Your phone will focus exactly where you need it.
If the lashes aren't perfectly sharp, retake the photo.
8. Keep the Background Clean
Avoid clutter around your client.
Messy backgrounds distract from your work.
Simple options include:
- White bedding
- Neutral blankets
- Soft pink towels
- Minimal salon décor
The lashes should always be the main focus.
9. Take Multiple Angles
One photo isn't enough.
Capture:
- Both eyes together
- Left eye
- Right eye
- Side profile
- Close up macro shot
- Open-eye photo
Having multiple images gives you more content for social media.
10. Don't Over Edit
Editing should enhance, not change your work.
Avoid:
- Heavy filters
- Excessive sharpening
- Over smoothing
- Artificial colours
Clients want to see your real results.
11. Brush Through the Lashes First
Before photographing:
- Brush through the lashes with a clean spoolie.
- Check for crossed lashes.
- Remove any fluff or fibres.
Those small finishing touches make a huge difference.
12. Show Different Lash Styles
Potential clients love seeing variety.
Photograph:
- Classic lashes
- Hybrid lashes
- Russian Volume
- Mega Volume
- Wispy sets
- Wet look lashes
- Brown lashes
- Coloured lashes
A varied portfolio helps clients choose their favourite style.
13. Keep Your Branding Consistent
Try to keep every photo looking similar.
For example:
- Same background
- Same lighting
- Same editing style
- Same angles
A consistent Instagram feed instantly looks more professional.
14. Capture Before & After Photos
Transformation photos are some of the highest performing beauty content online.
Always ask your client for permission before taking a "before" image.
Then capture the finished result from the same angle.
Clients love seeing the difference.
15. Use Quality Lash Products
Photography can only showcase the work you've created.
Using premium products helps you achieve:
- Better retention
- Darker lash lines
- Consistent fans
- Beautiful curls
- Glossy black finish
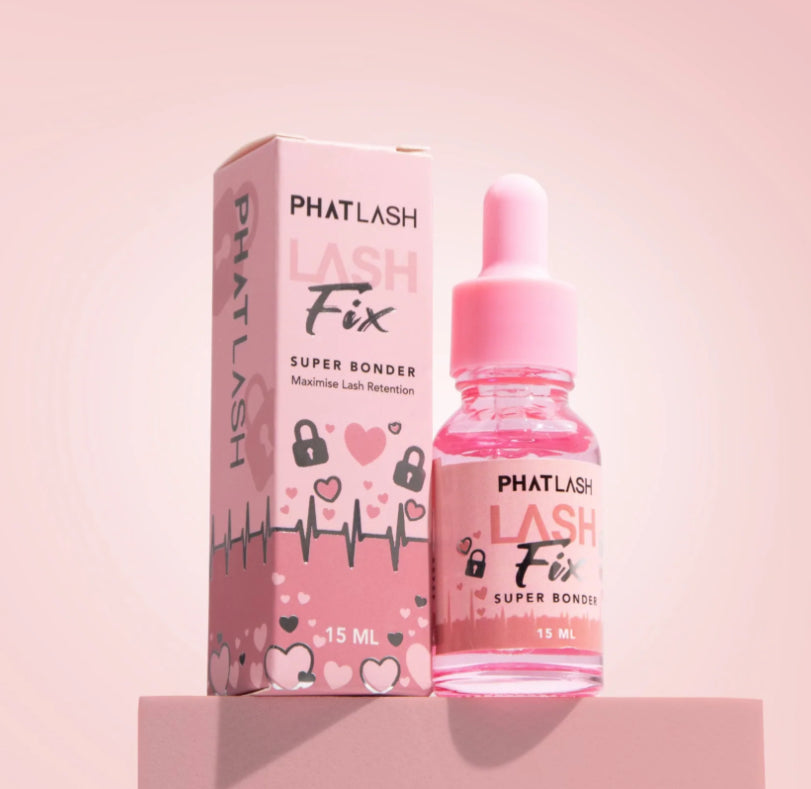
At PHATLASH, we supply professional lash products designed to help lash artists create flawless lash sets that look just as beautiful in photos as they do in person.
Whether you're creating soft classics or full volume transformations, quality products combined with good photography allow your work to stand out online.
Common Photography Mistakes to Avoid
Avoid these common errors:
- Taking photos in dim lighting
- Shooting too far away
- Using flash directly on the client
- Over editing images
- Forgetting to clean the camera lens
- Crooked angles
- Cluttered backgrounds
- Blurry focus
Small improvements in photography can make a huge difference to how professional your work appears.
Final Thoughts
You don't need expensive photography equipment to create beautiful lash photos. With good lighting, a clean background, the right angles, and attention to detail, your smartphone is more than capable of capturing stunning images that showcase your talent.
Every lash appointment is an opportunity to build your portfolio, grow your social media presence, and attract your next client. By following these simple photography tips and using high-quality products from PHATLASH, you'll create images that not only highlight your craftsmanship but also help your business stand out in a competitive industry.


Comments