
How to Infill Lash Extensions: A Step-by-Step Guide for Lash Techs
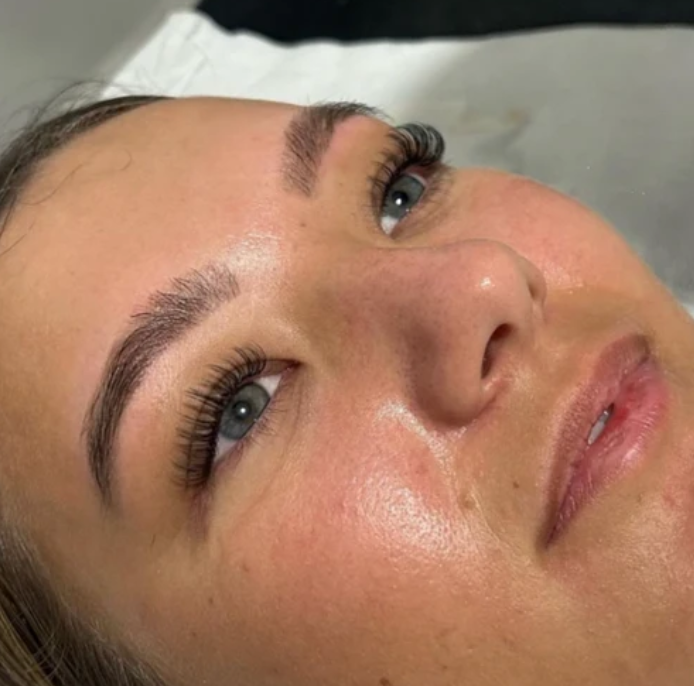
Lash infills are one of the most important appointments you'll offer as a lash technician. A well-executed infill keeps your client's lashes looking full, healthy and seamless while maintaining the health of their natural lashes. Whether you're new to lashing or looking to improve your technique, mastering lash infills will help boost client retention and keep your diary fully booked.
In this guide, we'll walk you through exactly how to infill lash extensions, what products you'll need, and our top tips for achieving flawless results every time.
What Is a Lash Infill?
A lash infill is a maintenance appointment where grown-out lash extensions are removed and replaced with fresh extensions. Rather than applying a completely new set, you simply fill in any gaps and replace lashes that have naturally shed or grown out.
Most clients will need an infill every 2-3 weeks, depending on their natural lash cycle and how well they care for their extensions.
Why Are Lash Infills Important?
Regular infills help to:
- Keep lashes looking full and fluffy
- Prevent uneven gaps
- Maintain a clean, professional appearance
- Protect the health of the natural lashes
- Save your client money compared to having a full new set
Clients who leave it too long between appointments often require a full set instead of an infill.
What You'll Need
Before starting the appointment, prepare all of your lash essentials.
You'll need:
- Lash cleanser
- Primer (if required)
- Gel eye pads or tape
- Lash tweezers
- Isolation tweezers
- Lash adhesive
- Lash trays
- Micro brushes
- Mascara wands
- Glue wipes
- Nano mister (optional)
Using high-quality products throughout the appointment helps improve retention and creates a more professional finish.
Step 1: Assess the Existing Lash Set
Before picking up your tweezers, take a good look at the lashes.
Check for:
- Gaps that need filling
- Twisted or crossed extensions
- Outgrown lashes
- Poorly attached extensions
- Signs of damage to the natural lashes
A good assessment allows you to plan the infill efficiently.
Step 2: Clean the Lashes Thoroughly
One of the biggest mistakes lash artists make is skipping a proper cleanse.
Clean lashes remove:
- Makeup
- Oils
- Dust
- Dead skin
- Protein build-up
Any residue left behind can affect glue performance and reduce retention.
Use a professional lash cleanser before every appointment and rinse thoroughly before drying the lashes completely.
Step 3: Remove Outgrown Extensions
Extensions that have grown too far away from the lash line should never be left in place.
These can:
- Twist
- Become uncomfortable
- Pull on the natural lash
- Affect the overall styling
Carefully remove them using professional lash remover or precision tweezers where appropriate.
Step 4: Brush and Reorganise the Lash Line
After removing outgrown extensions, brush through the lashes.
This makes it much easier to spot:
- Empty spaces
- Baby lashes
- Lash direction
- Areas needing more volume
Take your time here—it makes the application process much smoother.
Step 5: Apply New Lash Extensions
Now it's time to replace the missing lashes.
Remember to:
- Isolate every natural lash correctly.
- Match the existing style, curl and diameter.
- Keep your lash mapping consistent.
- Maintain proper adhesive placement.
- Avoid overloading weaker natural lashes.
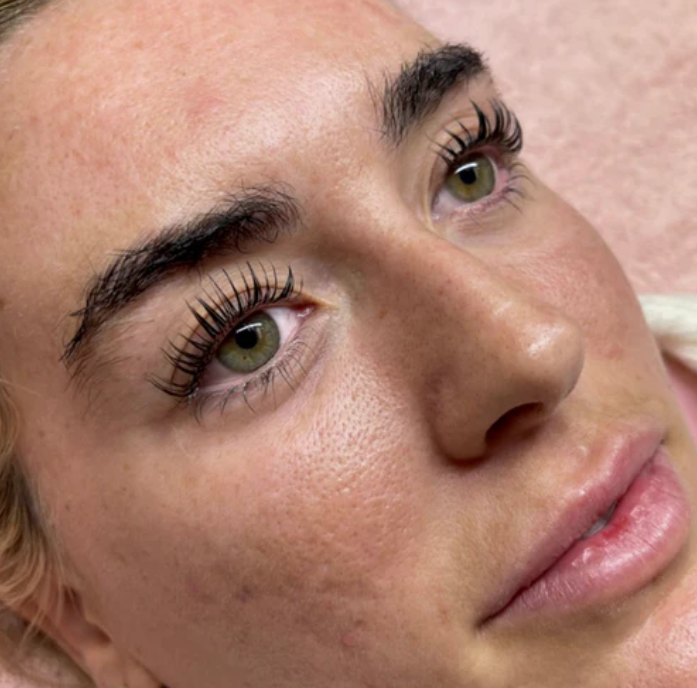
If you're infilling a Russian Volume set, create fans that match the original density.
If you're infilling Classics, ensure each extension blends seamlessly with the existing lashes.
Step 6: Check for Stickies
Before finishing, carefully inspect the lash line.
Separate any lashes that may have become stuck together.
Stickies can:
- Cause discomfort
- Damage natural lashes
- Affect lash growth
- Lead to poor retention
A thorough final check is essential for every appointment.
Step 7: Finish the Appointment
Brush through the lashes one final time.
Check the symmetry from every angle and ensure the lash line looks even across both eyes.
If desired, use a nano mister to help cure the adhesive before your client leaves.
How Long Should a Lash Infill Take?
This depends on the style being infilled.
Typical timings are:
- Classic Lashes: 45-60 minutes
- Hybrid Lashes: 60-75 minutes
- Russian Volume: 75-90 minutes
As your speed improves with experience, you'll become more efficient without compromising quality.
Top Tips for Better Lash Infills
Book Clients Every 2-3 Weeks
Waiting longer means more natural lash shedding, resulting in larger gaps that can turn an infill into a full set.
Don't Lash Every Natural Lash
Only apply extensions where needed. Overloading the lash line can make the set appear bulky and may damage the natural lashes.
Use Fresh Adhesive
Replace your glue regularly throughout the appointment for the best retention.
Match the Existing Style
Pay close attention to the original mapping, lengths and curls so the finished result looks consistent.
Prioritise Isolation
Even during busy appointments, never rush your isolation. Good isolation leads to healthier lashes and happier clients.
Common Lash Infill Mistakes
Avoid these common errors:
- Not cleansing the lashes properly
- Leaving outgrown extensions in place
- Using too much adhesive
- Filling every gap without considering natural lash health
- Ignoring stickies
- Waiting too long between infills
Correcting these habits will improve both retention and client satisfaction.
Shop Professional Lash Supplies at Phatlash
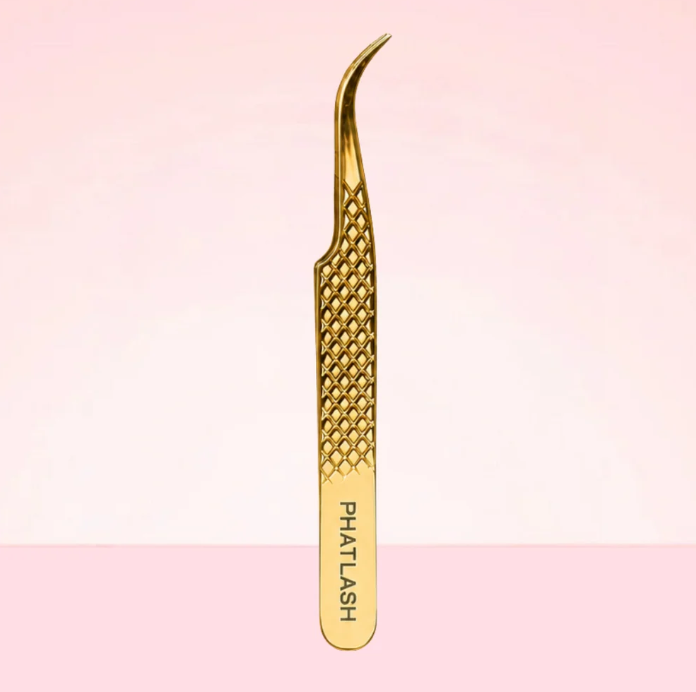
Great lash infills start with high-quality products. At Phatlash, we stock everything professional lash artists need, from premium lash trays and adhesives to tweezers, cleansers and prep products.
Whether you're creating flawless Classic, Hybrid or Russian Volume infills, our products are designed to help you achieve beautiful, long-lasting results your clients will love.
Explore the full Phatlash collection today and elevate every lash appointment with products trusted by lash professionals.
Comments